


Homemade DIY Gift Guide
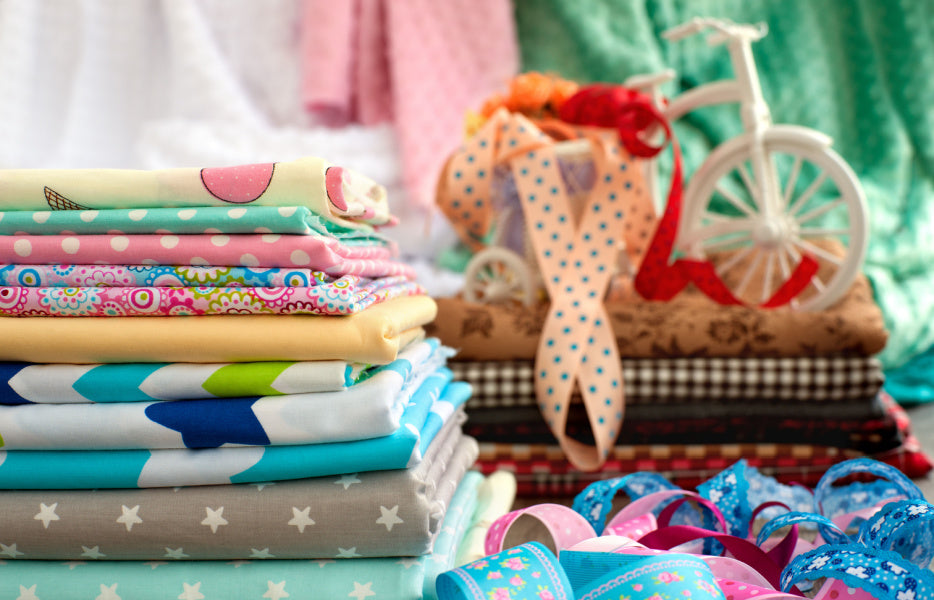
Homemade fabric gifts are a great way to treat your family and friends this year. They do require a little more time and effort to create but the results are guaranteed to be more meaningful. There is no doubt you will find the perfect DIY gift idea below, but we have made things easier for you by collating our list of favourites. So, take a read, choose what you’re going to make, gather your fabric collections, clear the table, and get crafting in the comfort of your very own home.
Our selection of fabric gifts will allow you to give the perfect present for friends or family no matter the occasion. We have gifts suitable for Valentine’s Day, Mother’s Day, Birthday’s, Easter, Christmas, and just general thinking of you or thank you gifts.
Homemade Gift Ideas
If you are really struggling to find the perfect gift, then why not make something they need and use? From sleep masks to lavender pouches, pillow covers to hair scrunchies and more, we have a gift you can make from fabric within this guide. The range of gift options vary between length of time to create and skill ability.
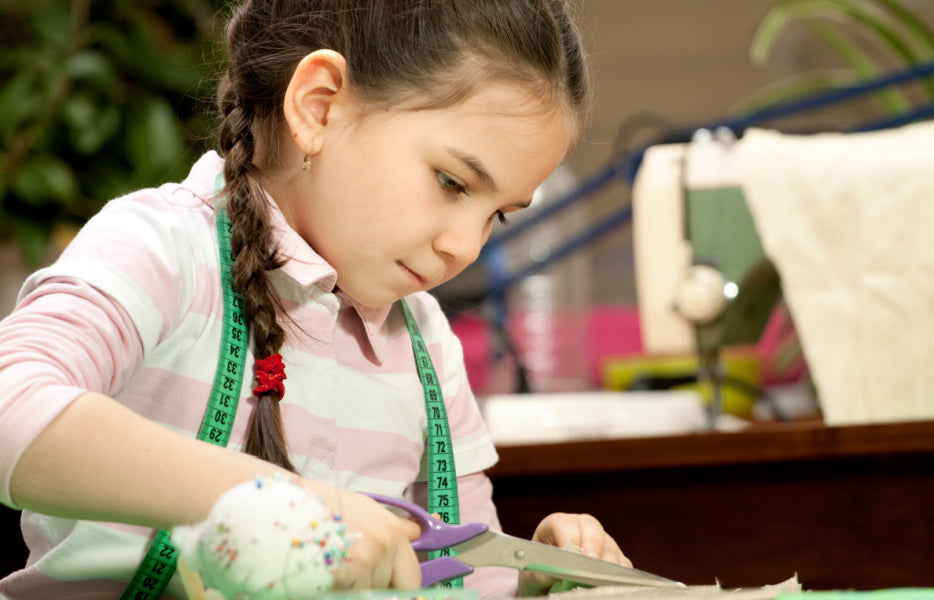
Eye Mask

Ideal for those who love their sleep or may struggle with sleep due to light! A cosy sleep mask is simple to make and makes the perfect gift for Mother’s Day. You can choose from a range of fabrics from cotton to fleece.
Step 1: Using the eye mask pattern, cut 2 pieces of fabric (one for front, one for back) and another from fusible fleece fabric. 3 in total.
Step 2: On the wrong side of the front piece, glue fusible fleece.
Step 3: Cut elastic to size and baste to the sides of the pattern. Before you secure the second part of the elastic, quickly check to make sure it’s the correct length.
Step 4: Lay the back piece of fabric on the fleece and stitch around with a 6mm seam allowance and leave 5cm gap at the top.
Step 5: Clip around the curves, make sure you keep the gap unclipped.
Step 6: Turn over your sleep mask to the right side and it press it (iron). Ensure you don’t put the iron on elastic as it can melt.
Step 7: Topstitch around the edge of the mask. Make sure you do not sew the elastic.
Source:https://blog.treasurie.com/diy-sleep-mask/
Envelope Pillow Covers

Pillow covers are a great way to add a splash of colour to any room. Maybe your gift recipient has recently decorated, and a new set of pillows will be the perfect gift. They would also look great on outdoor furniture for the warmer months made with Spring/ summer fabrics.
Step 1: Cut the fabric the size of your pillow insert multiplied by 2 plus 5”.
Step 2: Zig-zag stitch around all 4 edges of the fabric to avoid it fraying.
Step 3: On the short end of the fabric, iron a fold of ½ “, then fold over another ½ “ and iron in place. This will make a double ½ “ hem on each of the short ends of the fabric.
Step 4: Mark the centre of the long edges with a pin.
Step 5: Fold ½ of the pillow size minus ½ “ on each end.
Step 6: Pin in place.
Step 7: Sew ½” seam on each end.
Step 8: Turn the pillow right side out and poke out the corners.
Step 9: Insert pillow and enjoy!
Source:https://www.newtoncustominteriors.com/envelope-pillow-cover-tutorial/
Drawstring Bags

Drawstring bags are really useful gifts. You can even craft these bags and gift presents inside! A great idea for the kids or grandchildren, filled with goodies for Easter using kids fabric.
Step 1: Cut the fabric into the size of the bag you wish to create, plus an extra 5cm on length and 3cm on width.
Step 2: Fold over the top of each fabric by about 1cm and hem across.
Step 3: Create a 1cm gap 2.5cm away from the top and place a pin on both the right and left side of the fabric. Leave a 1cm gap and place another pin. This is where the drawstring will go.
Step 4: Keeping the right sides together, stitch all the way around the edges leaving a 1.5cm allowance. Remembering to leave a gap between the pins.
Step 5: Cut off the bottom corners of the bag. Press the seam allowance open and turn the top edge over ensuring the hole is in the right place.
Step 6: Pin this and sew all the way around. This will make the section the ribbon will thread through.
Step 7:Turn the bag the right way round. Clip some ribbon onto a safety pin and thread all the way through and back out the same side. Then repeat this on the other side.
Source:https://thesewingsessions.wordpress.com/2014/01/27/how-to-make-a-simple-drawstring-bag-2/amp/
Waist Apron

Aprons are lifesavers in the kitchen so make great gifts! There are so many designs you can choose from full aprons to waist tied aprons. You also customise these how you like with pockets and with various fabrics.
Step 1: Cut your fabric to the size you would like it. The first step then will be to hem the sides. Fold fabric to wrong side by 1” and press, then repeat, press and stitch. Repeat on other side and on the bottom of the apron.
Step 2: Now to attach the waistband. There are numerous ways to do this, but we want to keep it simple. Cut a strip of fabric that’s 4” wide by 30” long. Fold the fabric in half long ways to make a crease.
Step 3: Pin this to the top of the apron body with right sides together and centred. Then stitch down.
Step 4: Flip over. Fold the band in half along crease, right sides together. Stitch from body to the end of the sash.
Step 5: Turn the waistband right-side out and press. Turn under the bottom edge of the waistband and pin to the body. Stitch down then top stitch along the edge of waist ties then press.
If you wish to add pockets to the apron, check out the source for more info.
Source:https://www.myfrenchtwist.com/easy-boho-half-apron/
Last minute fabric gifts
Occasions seem far away at the beginning of the year but end up creeping up on us! The key thing to remember is not to panic, there is still time, and we have a solution to your problems. If you have some fabric laying around the house, there is time to craft something spectacular and something they will actually want and use.
Hair Scrunchies

Hair scrunchies are making a reappearance. They were once very popular a few years back and today it seems more and more people are wearing them again. You can buy some beautiful fabrics to make some staple scrunchies. This is the perfect stocking filler for your kids and adults too!
Step 1: Cut a strip of fabric around, 50cm x 10cm. Fold in half lengthways with right sides together and stitch alongside the edge.
Step 2: Turn right side out and thread elastic through and secure with a stitch at each end of the scrunchie.
Step 3: Fold under 1cm on one end of the scrunchie and insert the opposite end and stitch securely.
Source:https://www.prima.co.uk/craft/sewing/news/a29011/hair-scrunchies/
Handwarmers

A perfect gift, especially in the colder months is definitely a pair of handwarmers. Especially if it’s for someone who is always feeling cold! Easy to make with only a couple of steps to follow and a good way to use up any left-over fabric you have laying around.
Step 1: Cut out a rectangle of fabric – at whatever size you wish your handwarmer to be.
Step 2: Fold over in half right side together and sew up 2 sides. Snip the corners.
Step 3: Turn right side out and then at the opening, fold edges down inside and fill about 85% full of rice.
Step 4: Sew up the opening and there you have your warmer!
Source:https://www.agirlandagluegun.com/gift-that-keeps-on-giving
Lavender Pouches

Soothing lavender pouches are nice and easy to make for the perfect stocking filler or Valentine’s gift. These pouches are great to be added to your draws to keep them smelling fresh or being warmed up in the microwave for a couple of seconds.
Step 1: Cut six squares of fabric, 2 from each different fabric into 3 ½ “squares.
Step 2: Put the right sides together and sew around the edge leaving a 1” gap along one edge. Leave ¼ “around the edges for the seam allowance. Trim the remainder of the fabric back.
Step 3: Turn the bags out the right way pushing out the corners then press.
Step 4: Pour lavender into the bags then sew the opening closed.
Step 5: To present beautifully, stack the 3 bags on top if each other and secure with a piece of ribbon.
Source:https://shequiltsalot.com/lovely-lavender-bags-free-tutorial/
Scissor Holder

A scissor holder is a great last-minute gift for the keen crafter in your life! You can customise and make personable with their favourite-coloured fabric.
Step 1: Draw 8 ¾” x 10 ¼” rectangle on one fabric number 1 then cut out. Repeat on the second piece of fabric.
Step 2: Iron pellon to the wrong side of fabric 1.
Step 3: With right sides together, leave a ¼” seam allowance and stitch around the rectangle leaving a 2” gap on one of the long sides to turn the fabric to turn.
Step 4: Trim the seams back and cut the corner of the fabric off to make it neater.
Step 5: Turn right side out and press.
Step 6: Place your fabric in front of you with the shorter sides at the top and bottom. Pick up the bottom right corner of the fabric and fold across so it joins the other longer side.
Step 7: Now keeping the crease on the right, turn the shorter edge back towards the right to meet the new fold.
Step 8: Taking the long edge on the left, fold inwards tucking it underneath the already folded fabric.
Step 9: Press the folds in place and then stitch alongside the edges of your scissor holder to keep the folds in place.
Source:http://vickisfabriccreations.blogspot.com/2011/06/folded-fabric-scissor-holder-tutorial.html
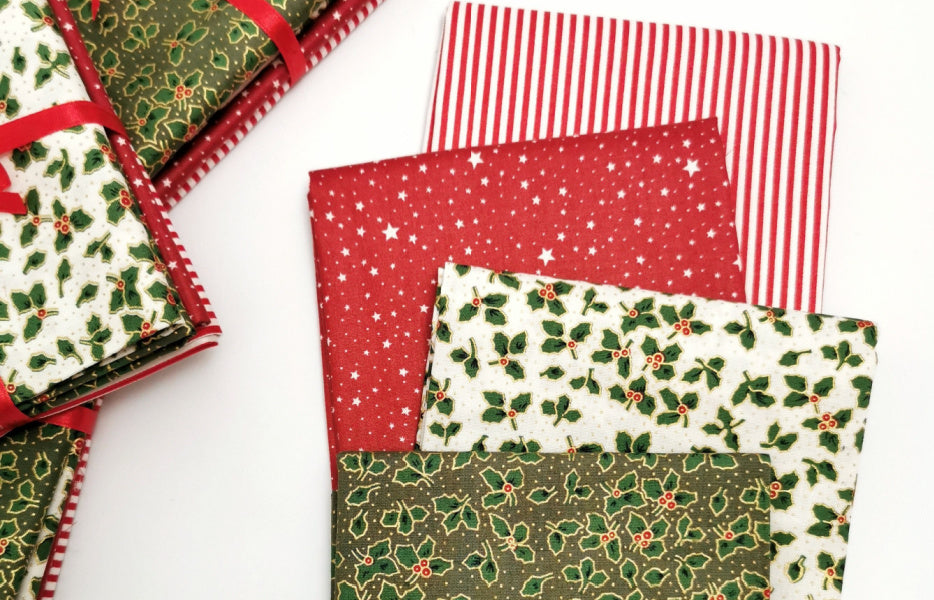
Homemade Christmas decorations
Christmas is a great reason to get the sewing box out and come up with ways to add a festive feel that is unique to your home. Festive bunting, decorations and even garlands are popular choices. It’s a good idea to get your Christmas fabrics in early and start making creations throughout the year in preparation for the festive period ahead.
Christmas Bunting

Christmas bunting is always a fun one to make. With traditional style triangular bunting to Gingerbread men shapes and Christmas tree shaped bunting. The possibilities are endless here! There are also two ways to make this. With and without sewing so no matter your crafting ability, we guarantee you can decorate your home with festive bunting.
Step 1: Decide on Christmas fabric you like and the shape it will be.
Step 2: Ensure your fabric is ironed flat and draw around your stencil on the reverse side of the fabric. Cookie cutters make top stencils! Then cut out your pattern.
Step 3: Lay out some ribbon or string, (your preference) and lay your fabric cut outs along it leaving 6” at each end for hanging. Measure the gaps between to ensure an even spread.
Step 4: Using a glue gun or some double-sided tape, secure the fabric to your ribbon and leave to dry. Alternately, pin your cut outs in place and sew.
Step 5: Hang your beautiful creation.
Source:https://meandbmaketea.com/2016/11/12/no-sew-christmas-bunting/
Christmas Table Runner

Add some Christmas cheer to your dining table this Christmas by adding a festive table runner. This is a simple to make and perfect for all abilities. The hardest part might be choosing the Christmas fabric!
You will need some festive fabric and some backing fabric to make this creation.
Step 1: Placing the fabric and backing fabric right side together, pin and then stitch front to back along each side. The front fabric will be wider than the backing when the edges are matched.
Step 2: Turn runner right side out and press flat with seam allowance towards centre.
Step 3: From the front, topstitch along each long edge about ¼”/ ½” from the edge.
Step 4: Press short edges 1” to back side then repeat. Stitch from back to side along each folded edge, close to the inner fold.
Step 5: Your table runner is all ready to be placed in the centre of your table!
Festive Napkins

Fabric homemade napkins is a great addition to your Christmas dinner and great for the environment being reusable. All you need is some festive fabric to get you started.
Step 1: Measure your fabric and cut a 38cm square.
Step 2: Turn in 1cm to the wrong side of one edge. Press and then again turn in 1cm, press and pin. Repeat this on all edges of the fabric starting with the opposite side.
Step 3: Top stitch around the napkin and press. Repeat the process to make as many napkins as you need!
Step 4: Present your napkin beautifully on your table.
Source: https://www.emilydawe.com/post/easy-fabric-napkins
Happy Crafting!
We hope you have enjoyed this homemade fabric gift guide and create something spectacular to gift to a loved one this year. Remember, if you are ever in doubt, a homemade gift will be well received and will go a long-long way.
Gifts Available At Cheapfabrics.
We take pride in delivering a pleasant shopping experience and can proudly admit that we have an overwhelming range of fabrics and sewing trims. Popular choices include;